Or “bouts” for the spelling challenged (like me).
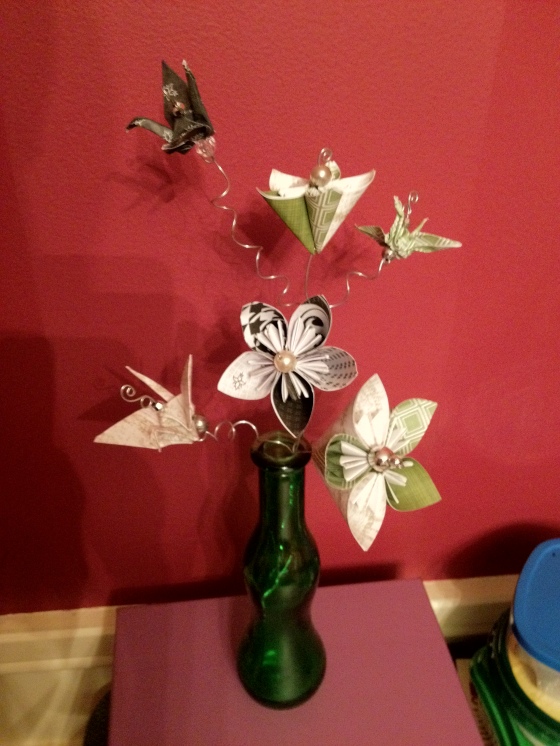
I was making these Kusudama origami flowers for our cocktail/social hour decor:
and my fiance thought they would make nice bouts. Always looking to do things in advance (and save a few dollars too), I happily agreed.
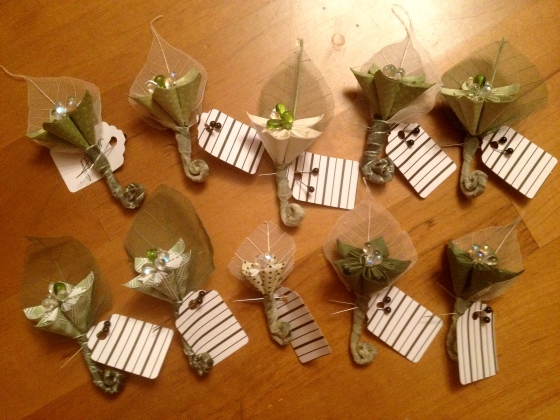
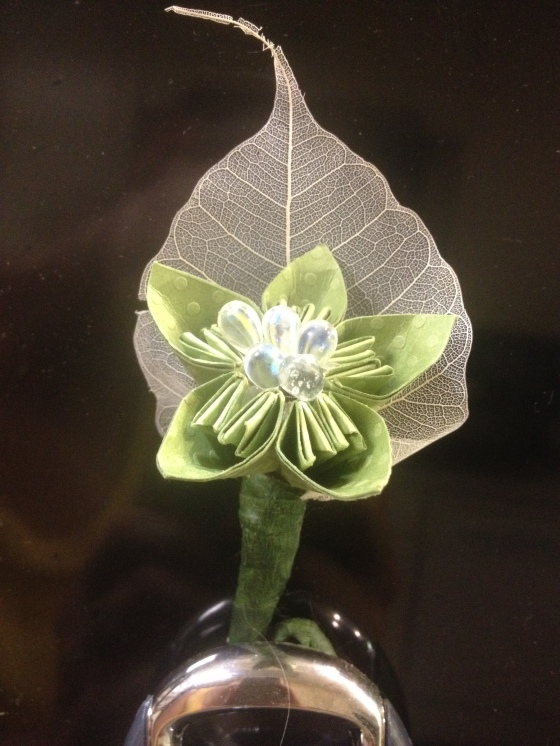
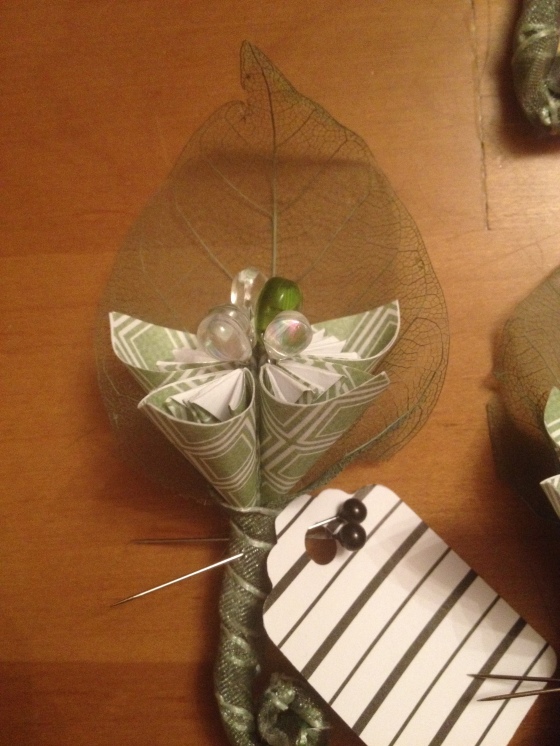
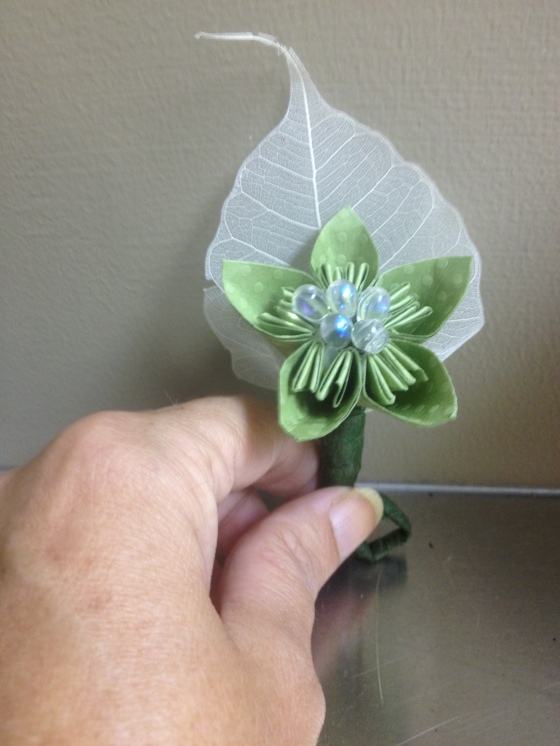
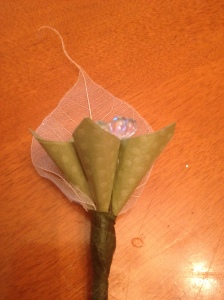
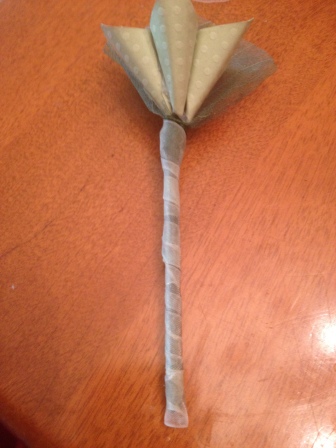
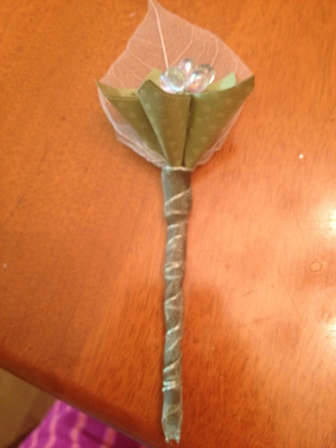
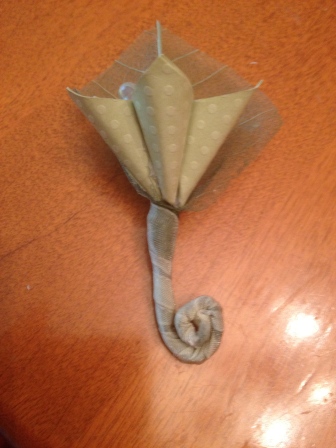
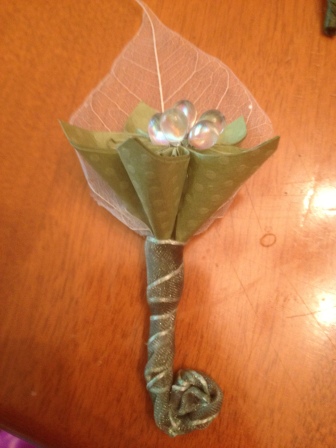
Here are bouts!
I was happy with how easy they were to make. Just a few hours for all ten, and that included making the flowers. The cost is under a dollar for each one–if you have to purchase everything. It is less than that if you already have a few supplies on hand. Also, I think they look great.
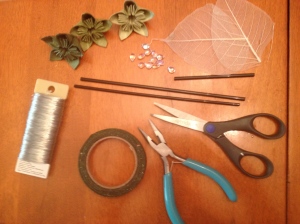
Supplies:
Floral wire: 18 gauge for the “stem” of the bout.
Jewelry wire for wiring your beads (gauge depends on the size of the hole in your beads)
Beads for the center
Leaves, or tulle, or fabric/ribbon for the backing of the bout (optional)
Plastic Straws-I recommend the shorter/smaller cocktail stirrer/straws
Floral tape (or wasabi tape) and ribbon (the ribbon is optional)
Scissors & Wire cutters
Kusudama flowers (for a how to on making these, click here). I used 2″ squares to make mine, except for the ring bearer’s bout–I used 1.5″.
Step 1: The Center
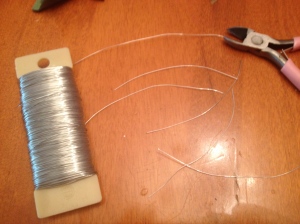
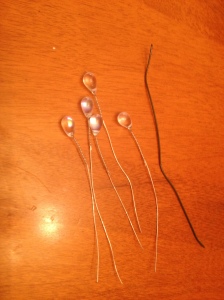
Assuming you already have the flower made, you’ll need to string your beads for the center of your flower. I chose these glass teardrop beads and thought five of them in the center looked nice. Cut your jewelry wire about 2-3″ long. You’ll need one wire for each bead.
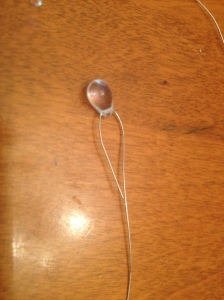
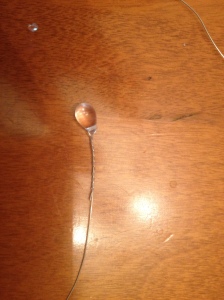
Thread the wire through the bead and bend over about an inch and twist your wire tightly to hold the bead. Do this for each bead.
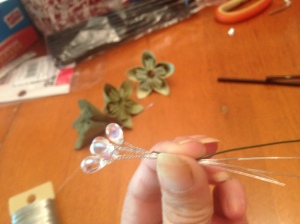
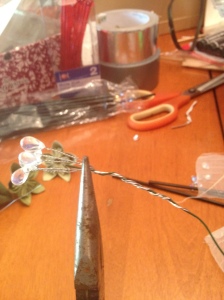
Grab all five of the wired beads and keeping them even on top, twist the wires so they are all connected together. You’ll then want to twist in a 18 gauge floral wire. The floral wire will be your stem. The beading wire is just not strong enough on its own.
Step 2: Assemble the Bout
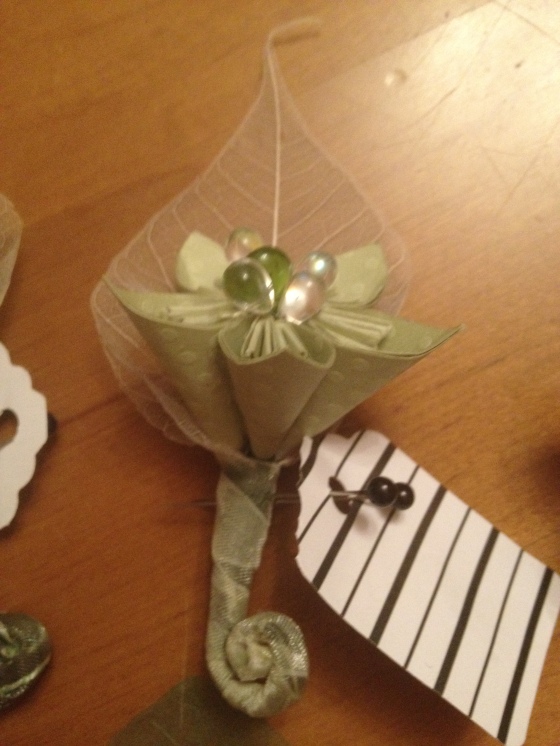
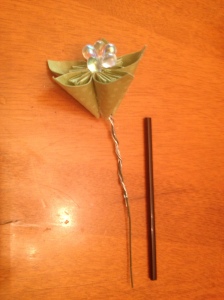
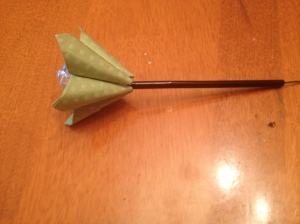
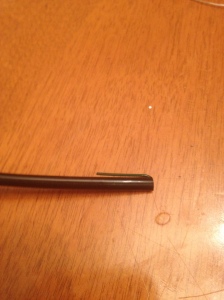
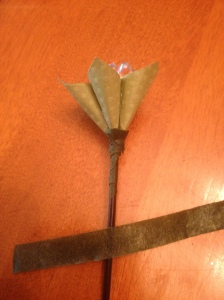
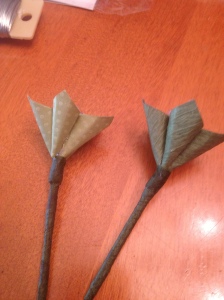
With the beaded wire and floral wire all twisted with one another, thread these through the center opening of your flower. Cut your cocktail straw down to the desired size. The cut straw needs to be a tad shorter than the floral wire on the flower (see picture). The straw will serve to thicken up the stem of your bout and give the tape/ribbon something to cling to.
Thread the wires through the straw. You should have some floral wire sticking out of the end of the straw. Bend it up over the straw. This will hold everything nice and tight.
You may want to put a touch of glue at the base of the flower where it meets the stem for added stayputtedness (not a real word). At this point, you wrap the stem in floral tape (or whatever tape you choose), just be sure to wrap tightly around the base of the flower and get all the way to the bottom of the stem. With floral tape, I have to do in two parts. I use about a 5″ section to wrap just the base, and then another 5″ piece to do the rest. If you are as bad as me with floral tape, you can wrap the whole thing in ribbon when you are done and the tape will not show.
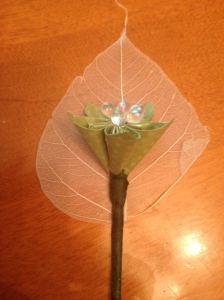
There are lots of things one can use as a background for their flower. I found these leaves taking up space in my craft room. If I didn’t have them, I probably would have cut a circle of tulle, or stole a leaf from a plastic plant, or even made one out of paper.
Lay your flower and center it on your background piece. Secure it with floral tape. Since my leaf was bigger than the base of the flower, I just pinched it in on both sides and then wrapped with tape.
Congratulations! Your bout is done! You can add a few finishing touches if you like…
Step 3: Finishing Touches (these steps are all optional)
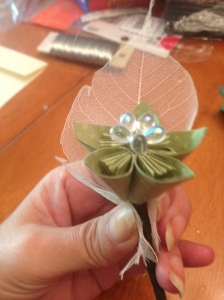
Since floral tape is sticky and I have cats, I finished off the stems with organza ribbon to prevent the bouts from being cat hair magnets. I just placed a dot of hot glue on the back of the bout (where the flower meets the stem) and wrapped all the way to the bottom. A spot of hot glue on the tip of the end held the ribbon in place.
I used a pair of small pliers to curl the stem of the bout as well.
Here they all are with cute little tags and their pins. I love the little tiny one for the ring bearer 🙂
I love these! You are a life saver. I got so many amazing ideas from your blog. You saved my wedding from being a disaster 🙂
You just made my day!
🙂
I have a question though, what paper did you use for the flowers? Did you buy a special origami paper or just any paper will do?
The smaller the flower, the thinner the paper, I’ve discovered. I used paper slightly heavier than regular copy paper, lighter than card stock. It was not special origami paper. It was a scrapbook paper pack/book I purchased at the craft store.
thank you! I made one last night and it turned out so nice! I really didn’t know what to do for the guys and when I saw yours I fell in love. This is a picture of mine if you wanted to look http://oi43.tinypic.com/rlyzgy.jpg
Love it! The color of the leaf and paper is beautiful. I think you are a better folder than me 🙂
Pingback: Corsage Pins for my Lovely Attendants | Crafty Wedding